2019 Porsche Cayenne 9YO: Difference between revisions
(Created page with "== 2019 Porsche Cayenne == == Purchase Pictures == This is Elizabeth's new car, kind of a reward for getting a promotion at work. <br/> Exterior <hovergallery maxhoverwidth...") |
|||
| (8 intermediate revisions by the same user not shown) | |||
| Line 1: | Line 1: | ||
== 2019 Porsche Cayenne == | == 2019 Porsche Cayenne == | ||
== Purchase Pictures == | === Purchase Pictures === | ||
This is Elizabeth's new car, kind of a reward for getting a promotion at work. <br/> | This is Elizabeth's new car, kind of a reward for getting a promotion at work. <br/> | ||
| Line 71: | Line 71: | ||
Image: | Image: | ||
Image: | Image: | ||
Image: | |||
</hovergallery> | |||
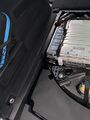
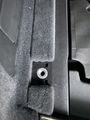
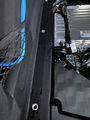
=== Load Management === | |||
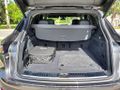
This is actually a relatively straight-forward bit of work, though the carpet strips that need to be remvoed are a little delicate, so if you want to reuse those proceed with caution and don't pull too hard. First, take the removeable cover out and set it aside, and lower the back seats. You'll need a T40 Torx bit, which is harder to find (though my Lowes had them). Flip the tie downs open, flip the covers up, and remove them. The long carpet srips in the side channels come out easily, just gently push them towards the front of the car and the pop out. The 4 end pieces have a tab that points towards the open section of the channel, hold that down and push towards the open side and they'll pop out. Then, just remove the center bolt and the load rails will drop right end. Tightn them up, and replace the cover. Then just drop in the load anchors and arrange to taste.<br/> | |||
<hovergallery maxhoverwidth=1200 maxhoverheight=1024> | |||
Image:Load Cover 1.jpg|Before starting the conversion | |||
Image:Load Cover 2.jpg|Cover removed | |||
Image:Load Strip 1.jpg|Track edge before removing factory tie down and carpet inserts | |||
Image:Load Tie 2.jpg|Tie Down from Factory | |||
Image:Load Tie 1.jpg|Tie Down open | |||
Image:Load Tie 3.jpg|Tie Down cover open/bolt exposed | |||
Image:Load Tie 4.jpg|Tie Down removed | |||
Image:Load Strip 2.jpg|After Tie Down removal | |||
Image:Load Strip 3.jpg|Closeup | |||
Image:Load Strip 4.jpg|Carpet removed | |||
Image:Load Strip 5.jpg|Center bolt to be removed | |||
Image: | |||
Image:Load MGMT 1.jpg|Finished with rigid grocery bar across back and retractable web on side | |||
</hovergallery> | |||
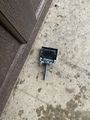
=== Door Puddle Lights === | |||
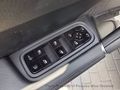
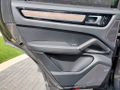
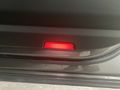
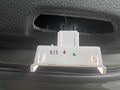
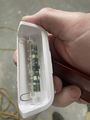
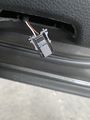
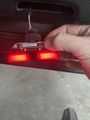
This is another pretty straightforward project. You do need something fairly rigid, but unlikely to scuff to door plastic. I used an old thick ID card, a little thicker/stronger than a credit card, to you need to push hard at the top outside corners of the puddle light, in then down to relaced the little arms. Then just extend the wire and squeece the release arms on the connector, swap the lamp, and pop it back in.<br/> | |||
<hovergallery maxhoverwidth=1200 maxhoverheight=1024> | |||
Image: factory puddle 1.jpg|Factory Light | |||
Image: factory puddle 2.jpg|Factory light underneath | |||
Image: factory puddle 3.jpg|Factory light removed | |||
Image: factory puddle 4.jpg|Factory light without cover | |||
Image: factory puddle connector.jpg|Connectory | |||
Image:Logo puddle 1.jpg|New LED lamp - anti-collision lights | |||
Image:Logo puddle 2.jpg|Logo projection | |||
Image:Logo puddle 3.jpg | |||
Image:Logo puddle 4.jpg | |||
Image:double lights.jpg | |||
</hovergallery> | |||
=== Charging Dock === | |||
We installed solar to support electric cars, so now we're installing the large Porsche Charging dock with 24' cord into our 50A welding/charging circuit. The dock holds either the standard Porsche Mobile Charger or Porsche Mobile Connect charger. The Cayenne camew with the Mobile Charger and onboard 7.2kW charging capability, which charges the car in about 2 hours. The PCM has a charge scheduling function, but the Mobile Connect Charger has multiple schedules and timers built into it, and pairs with the Connect app to configure them, as well as has pretty LCD display to show charging status.<br/> | |||
<hovergallery maxhoverwidth=1200 maxhoverheight=1024> | |||
Image: Charge Dock 1.jpg | |||
Image: Charge Dock 2.jpg | |||
Image: | Image: | ||
</hovergallery> | </hovergallery> | ||
Latest revision as of 18:06, 7 February 2021
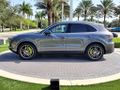
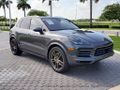
2019 Porsche Cayenne
Purchase Pictures
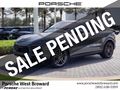
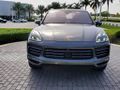
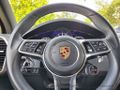
This is Elizabeth's new car, kind of a reward for getting a promotion at work.
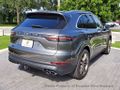
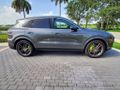
Exterior
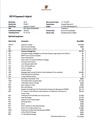
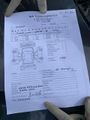
Build Sheet
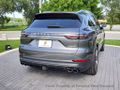
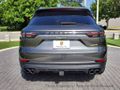
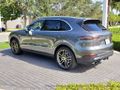
Butt
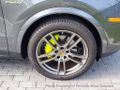
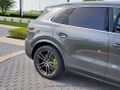
Wheel and Acid green brakes (hybrid styling)


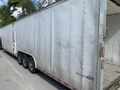
Covered car carrier
Covered car carrier
No damage prior to loading
Loading - wrong truck 1
Loading - wrong truck 2
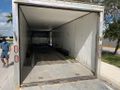
Loading right truck 1
Loading right truck 2
Loading right truck 3


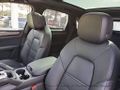
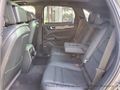
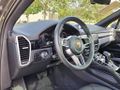
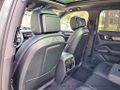
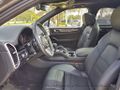
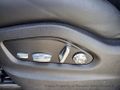
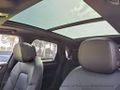
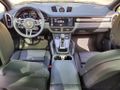
Interior
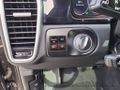
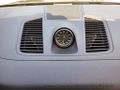
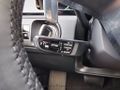
Front Climate
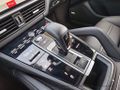
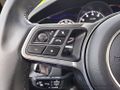
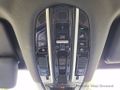
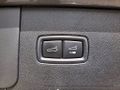
Center Console
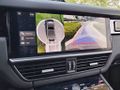
Surround View backup camera
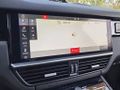
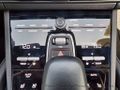
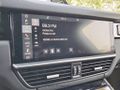
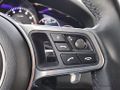
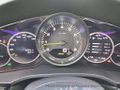
Navigation


Load Management
This is actually a relatively straight-forward bit of work, though the carpet strips that need to be remvoed are a little delicate, so if you want to reuse those proceed with caution and don't pull too hard. First, take the removeable cover out and set it aside, and lower the back seats. You'll need a T40 Torx bit, which is harder to find (though my Lowes had them). Flip the tie downs open, flip the covers up, and remove them. The long carpet srips in the side channels come out easily, just gently push them towards the front of the car and the pop out. The 4 end pieces have a tab that points towards the open section of the channel, hold that down and push towards the open side and they'll pop out. Then, just remove the center bolt and the load rails will drop right end. Tightn them up, and replace the cover. Then just drop in the load anchors and arrange to taste.
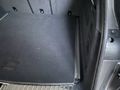
Before starting the conversion
Cover removed
Track edge before removing factory tie down and carpet inserts
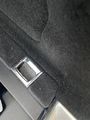
Tie Down from Factory
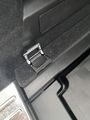
Tie Down open
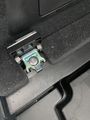
Tie Down cover open/bolt exposed
Tie Down removed
After Tie Down removal
Closeup
Carpet removed
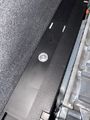
Center bolt to be removed
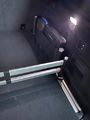
Finished with rigid grocery bar across back and retractable web on side


Door Puddle Lights
This is another pretty straightforward project. You do need something fairly rigid, but unlikely to scuff to door plastic. I used an old thick ID card, a little thicker/stronger than a credit card, to you need to push hard at the top outside corners of the puddle light, in then down to relaced the little arms. Then just extend the wire and squeece the release arms on the connector, swap the lamp, and pop it back in.
Factory Light

Factory light underneath
Factory light removed
Factory light without cover
Connectory
New LED lamp - anti-collision lights
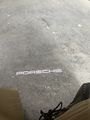
Logo projection


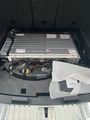
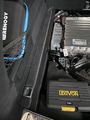
Charging Dock
We installed solar to support electric cars, so now we're installing the large Porsche Charging dock with 24' cord into our 50A welding/charging circuit. The dock holds either the standard Porsche Mobile Charger or Porsche Mobile Connect charger. The Cayenne camew with the Mobile Charger and onboard 7.2kW charging capability, which charges the car in about 2 hours. The PCM has a charge scheduling function, but the Mobile Connect Charger has multiple schedules and timers built into it, and pairs with the Connect app to configure them, as well as has pretty LCD display to show charging status.

